Creating Classes Manually: Administrators
Step 1: Accessing Settings
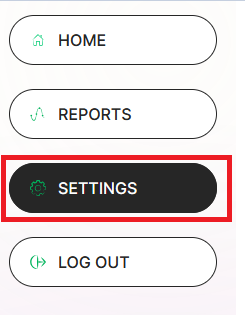
- Once logged into Amira Learning, select "Settings" in the lefthand sidebar.
Step 2: Classroom Management
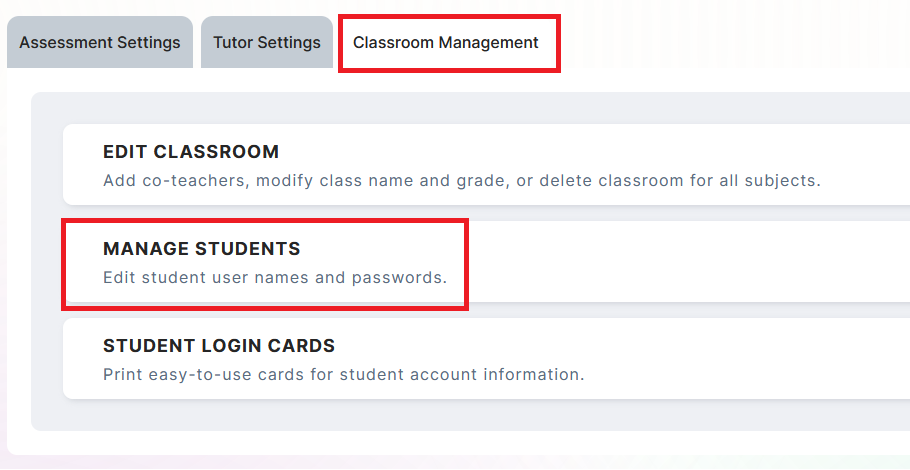
- Select the "Classroom Management" tab on the top right.
- Next, select the "Manage Students" option.
Step 4: Classroom
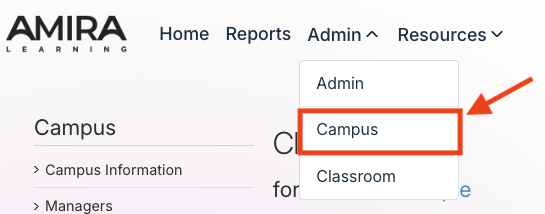
- Select "Campus" from the Admin dropdown in the top ribbon.
- Select "Classrooms" in the lefthand sidebar.
- Select "Add/Remove".
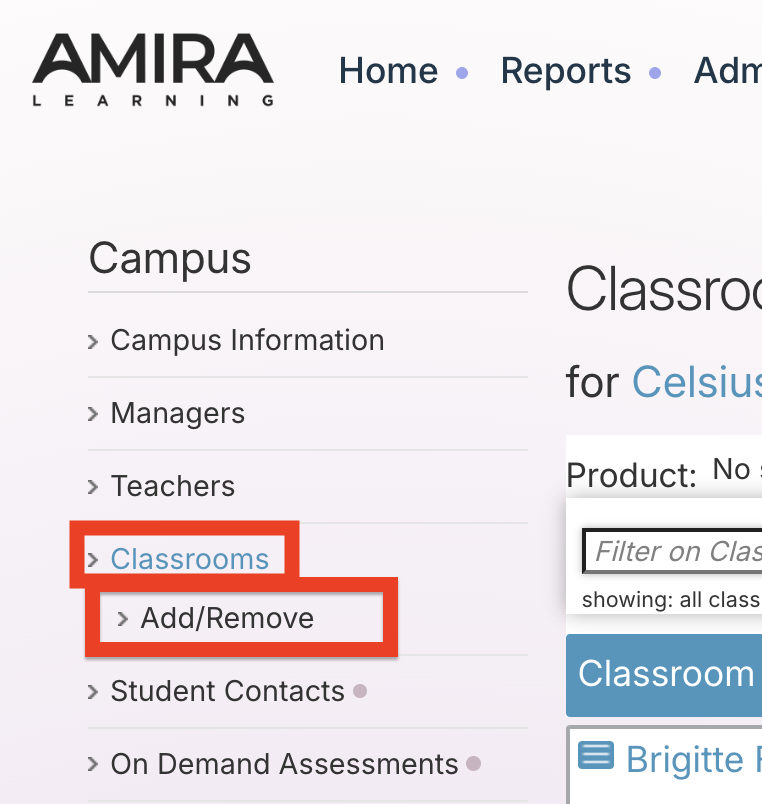
Step 5: Create Classroom
- Select the Grade level for the class and edit the Class Name if desired.
- Select "Add".
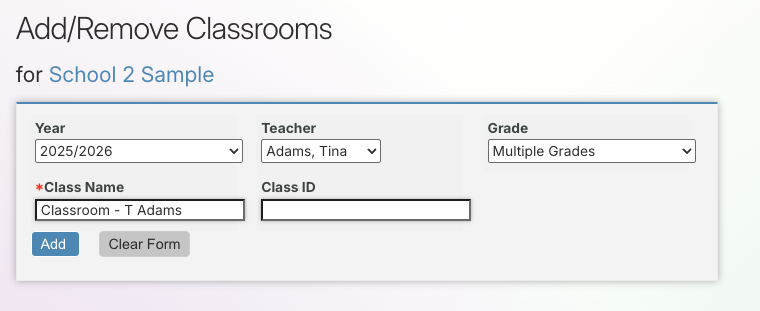
Summer School Classes
For Summer School classrooms, select "Summer 20xx" in the dropdown menu. Select Grade Level for the class and edit the class name if desired
Step 6: Add Students to the Class
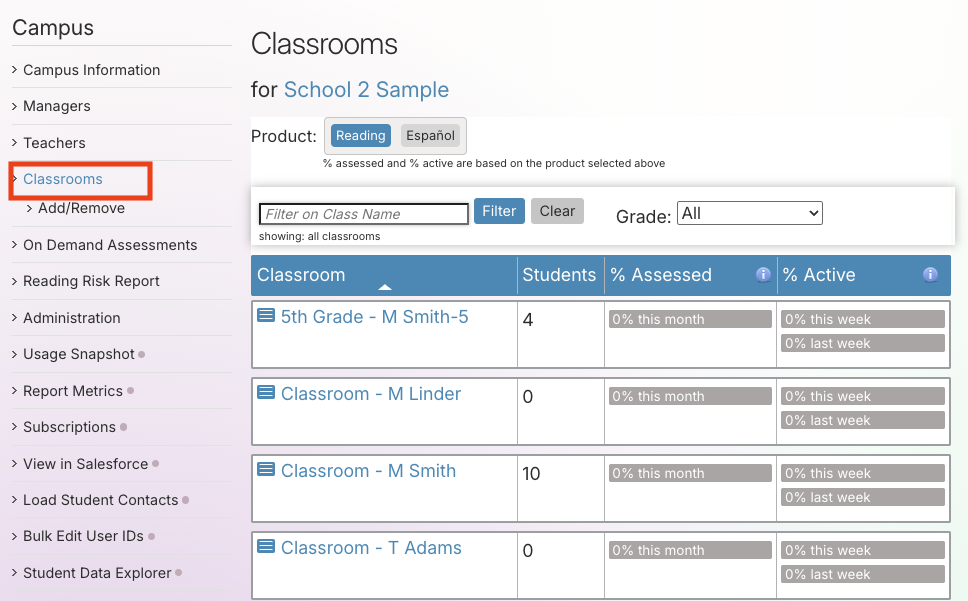
- Select "Classrooms" from the lefthand sidebar. Select the name of the class to which you want to add students.
- Select "Add/Remove Students" from the lefthand sidebar.
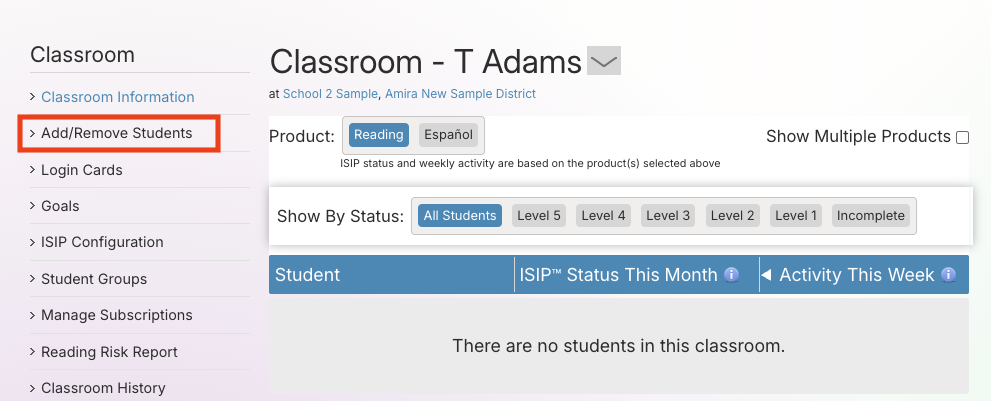
Step 7: Enter Student Information
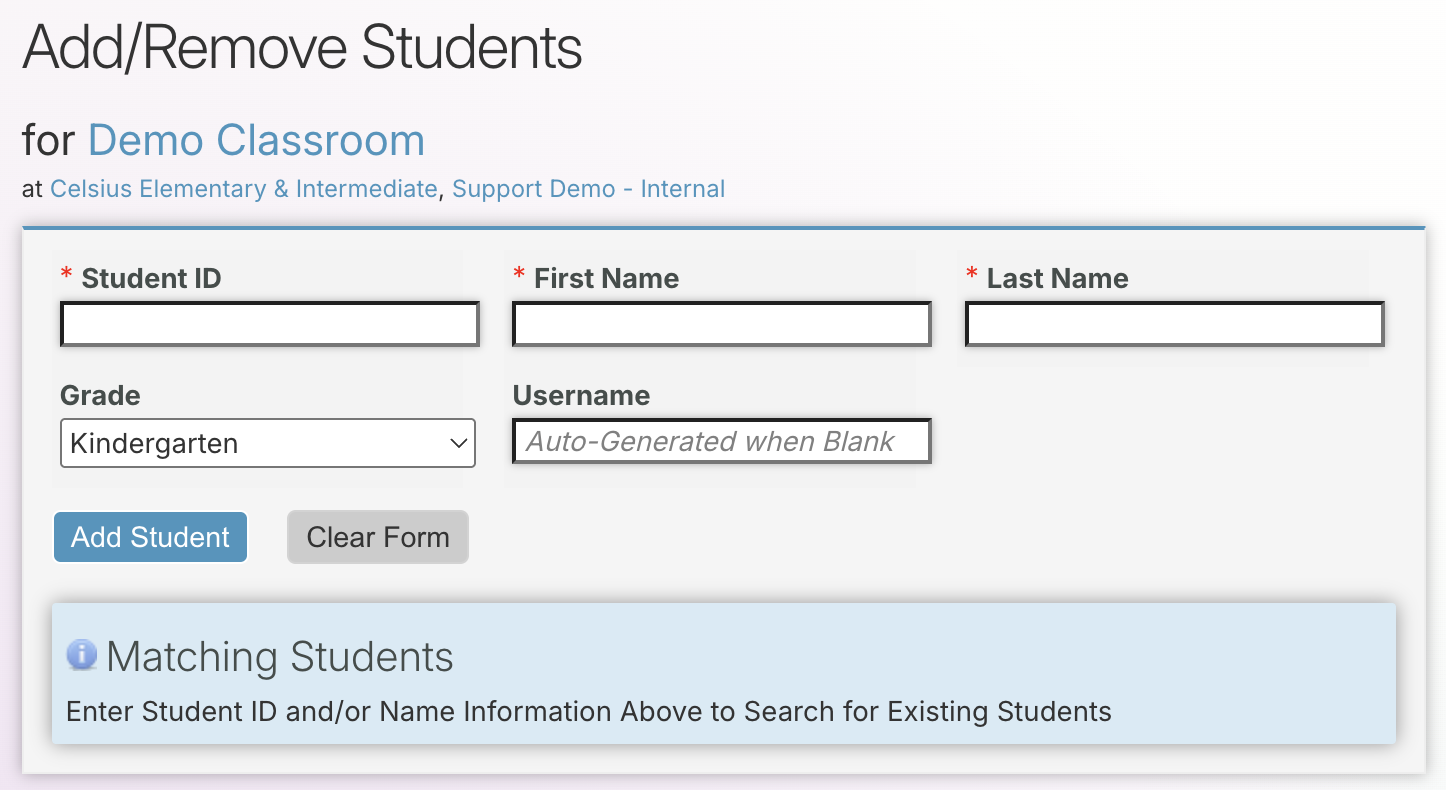
- Enter the student’s information in the required fields.
- If the student does not have an existing account, select "Add Student."
- If the student has an existing account, find the student under “Matching Students.” and select "Add to Class" next to the correct student account.