Amira Badges recognize student progress and achievements in reading with Amira Tutor and Tutora. They're available in both English and Spanish, and they give students a fun, visible way to see their growth, but only once a teacher decides to award them.
What are Amira Badges?
Badges are earned by students as they hit specific milestones in Amira Tutor or Tutora, things like reading consistently, hitting new fluency highs, or graduating a skills scaffold. Badges are only visible to students after a teacher awards them, so teachers stay in control of when and how recognition happens in their classroom.
Getting started: Enabling badging (Admins)
Before badges can be used at all, a District or School Administrator needs to turn the feature on.
- Log into the Administrator Dashboard.
- Select the Badging & Avatar Settings tile.
- Toggle Badging to Enabled.
Once enabled at the admin level, teachers in that district/school can begin awarding badges to their students.
Walkthrough: Admin Badging & Avatar Settings
How badges work
Students can earn badges in five built-in categories, plus any custom categories a teacher creates:
- Total Sessions
- Minutes This Week
- New WCPM Highs (Words Correct Per Minute)
- Skills Scaffold Graduation (Early Reader)
- Fluency Milestone Achieved
- Teacher-created
Each achievement category has up to six levels (A, F), and each level has its own mascot. Not every category awards a badge at every level, some only mark progress at a few key milestones.
English Badge Mascots
| Level | A | B | C | D | E | F |
|---|---|---|---|---|---|---|
| Mascot | Panda | Bear | Rabbit | Tiger | Gorilla | Unicorn |
Spanish Badge Mascots
| Level | A | B | C | D | E | F |
|---|---|---|---|---|---|---|
| Mascot | Quetzal | Xolo | Milk Snake | Jaguar | Donkey | Golden Eagle |
Badge attainment thresholds
Here's what a student needs to hit to earn each badge level:
Total Sessions
- A: 5 sessions
- B: 10 sessions
- C: 20 sessions
- D: 50 sessions
- E: 75 sessions
- F: 100 sessions
Minutes This Week
- B: More than 20 minutes
- E: More than 30 minutes
New WCPM High
- A: Passes 10 WCPM
- B: Passes 20 WCPM
- C: Passes 30 WCPM
- D: Passes 40 WCPM
- E: Passes 60 WCPM
- F: Passes 100 WCPM
Skills Scaffold Graduation
- A: Completes the first scaffold exercise
- E: Completes the last scaffold exercise
New High (a separate fluency-growth achievement)
- C: After 5 sessions with Amira, awarded for any new high where adjusted WCPM is more than 10 words above the previous award
- E: New high above 120 WCPM
- F: New high above 160 WCPM
Awarding badges is teacher-controlled
Even after a student meets a threshold, the badge is not awarded, and the student won't see it, until a teacher approves it in the Usage Report.
Once approved:
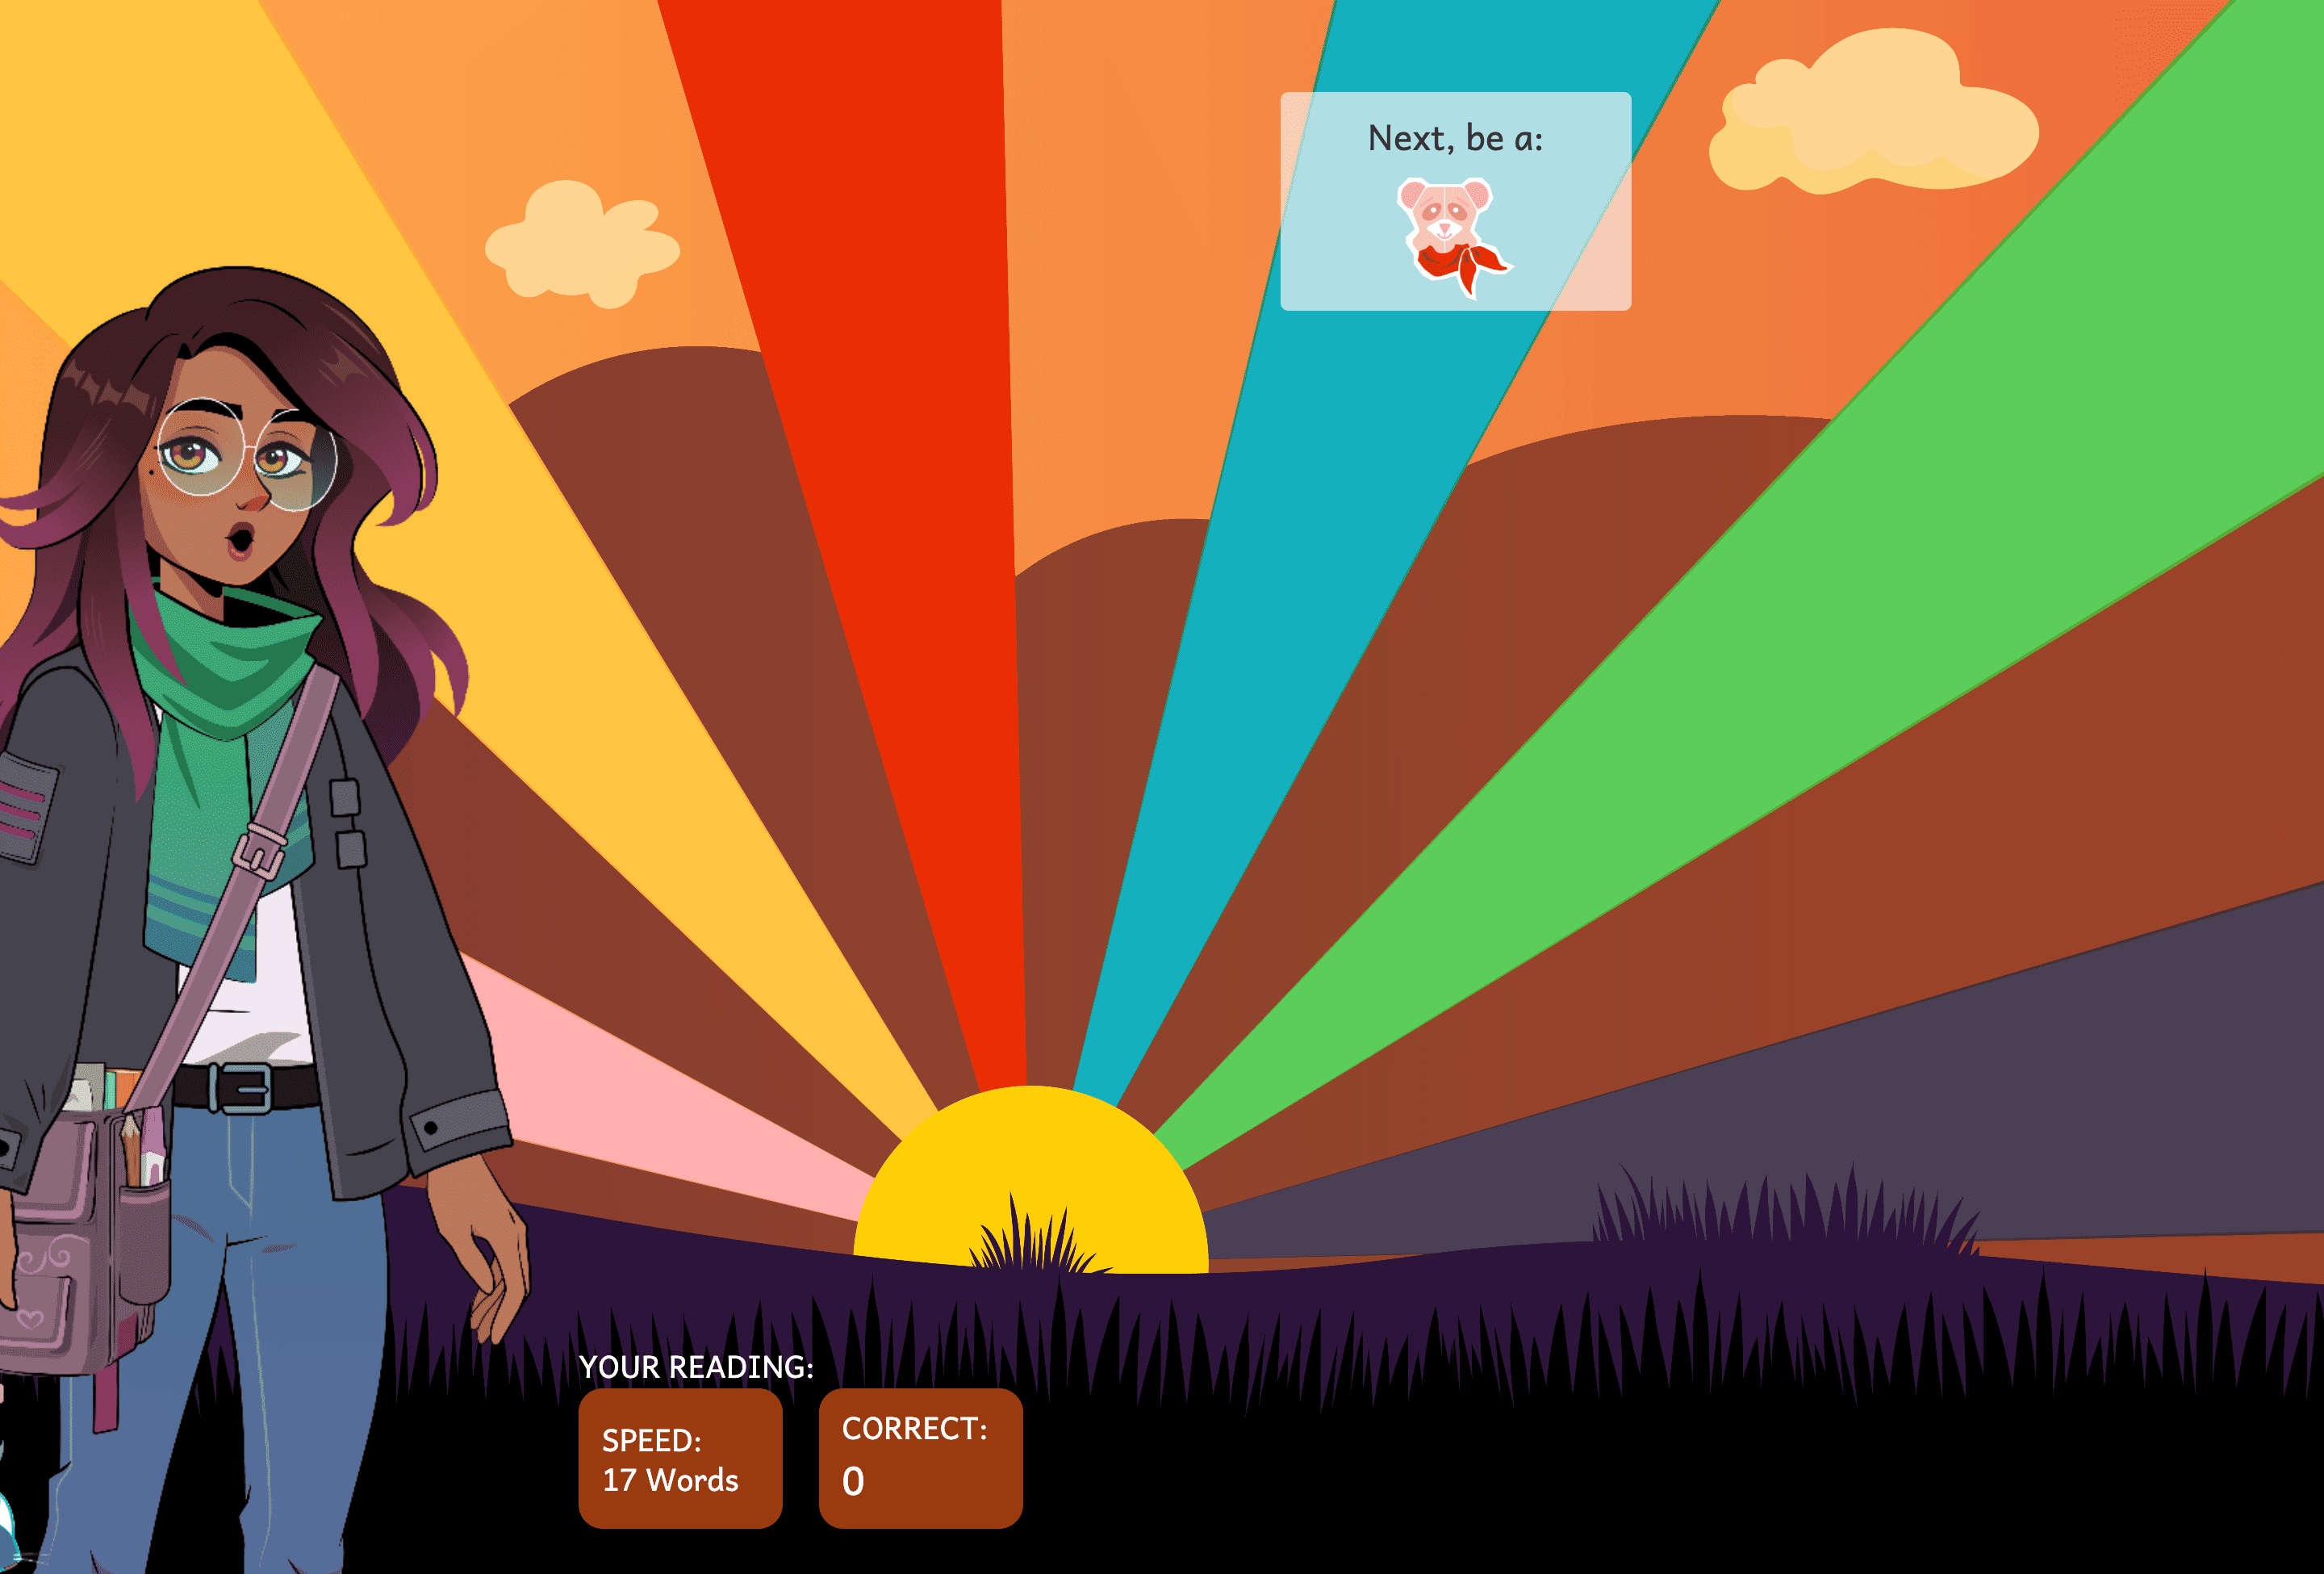
- The student experiences a Badging Ceremony the next time they log in, celebrating their new badge. See a video.
- Students can view all of their awarded badges anytime from the Progress Screen, and can hover over each mascot to see details.
- Students also earn a certificate each time they achieve a new badge, which teachers can print from the Usage Report.
How to award badges and print certificates
From the Usage Report:
- Set the Usage Window to "School Year."
- To award badges to individual students:
- Select the students whose badges you want to award.
- Click Award Badges at the bottom of the report.
- To award all eligible badges at once:
- Click Award All at the top of the report.
Once a badge has been awarded, you'll see a green check mark next to it in the report, an easy way to tell at a glance which badges still need approval and which have already been given out.
Printing certificates
- Click on the badge(s) you'd like to print a certificate for.
- Click Print Certificates at the bottom of the report.
- Choose whether to print in color or black and white.
Creating custom badges
If your class has a specific goal that isn't covered by one of the built-in badge categories, you can create your own custom award.
From the Usage Report:
- Select the student(s).
- Click Build Certificates.
- Choose the reward level and write a description for the achievement.
- Click Create Badges & Print Certificates to generate the awards.
This is a great option for celebrating class-specific goals, a reading challenge, a personal milestone, or anything else that matters to your students but doesn't map neatly onto the standard badge categories.